Use App Step to Elevate Permissions in SharePoint Designer Workflows
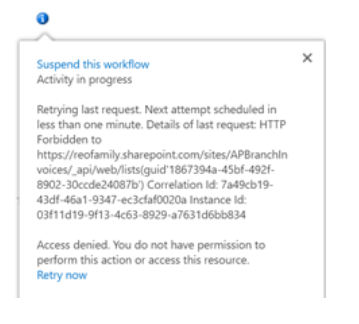
Reason: Workflow is producing an error, access denied, ‘you do not have permission to’… This error can be seen when looking at the workflow online.

How to get past ‘Access denied’
Next the user should login to the SharePoint Site where the workflow was created.
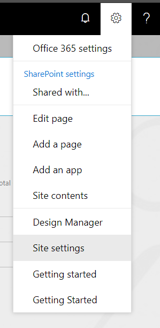
Click on the gear then site settings.

Under Site Actions select Manage Site Features

Locate ‘Workflows can use app permissions’
If it is not activated, Click ‘Activate’

Permissions – Grant full control permissions to the workflow
Note: the workflow must already be created and published before full control permissions can be granted.
Click on the gear again, site settings

Under Users and Permissions select ‘Site App Permissions.

Copy the client section, located between the | and the @

Here’s a larger picture…

Navigate to the Grant Permission to an app page by browsing to the appinv.aspx page of the site.
Example:
http://hostname/the Site Collection/_layouts/15/appinv.aspx
Enter the client section, previously copied, into the App ID, select Lookup

You will be enabling all the workflows in this Site collection.
Paste the following code into the Permission Request XML field:
<AppPermissionRequests AllowAppOnlyPolicy=”true”>
<AppPermissionRequest Scope=”http://sharepoint/content/sitecollection/web” Right=”FullControl” />
</AppPermissionRequests>

Workflow – Adding the App Step
Open SharePoint Designer
Locate the workflow
The App Step is now available in the workflow

The App Step can now be added as a step into the workflow:
Below is an example of how the App Step was set up. This is our example, yours will be different.
It was created as a step within a stage.
This resolved the issue!

Nice article by Microsoft: https://docs.microsoft.com/en-us/sharepoint/dev/general-development/create-a-workflow-with-elevated-permissions-by-using-the-sharepoint-workflo
